
Glass ornaments are a traditional Christmas tree decoration. They come in all shapes, sizes, colors and designs that fit any tree theme. Our tree color palate is red, gold, green and white. As it turns out, Eric and I have three boxes of miniature red and gold glass bulbs that we used for decorations at our wedding reception to put on our tree. As such, I decided to decorate some larger round glass bulbs in various designs so that all the bulbs are not red and gold. I bought two packs of 6 round glass bulbs and three bottles of paint from Michael's (with a 40% off coupon whoot whoot!), then set off on a glass-painting adventure! Obviously, there many ways that you can decorate your own glass ornaments, but here are a few ideas if your looking for inspiration or a little direction...
Polka Dots
Starting off with something easy that I have used for decorating wine glasses, let's begin with some quick polka dots. There are different ways you can do this. One way would be to paint the entire glass ornament a background color, and then use a different color(s) for your polka dots. The other way is to leave the glass clear, as I did. You could also hot glue sequins onto the glass to make the dots instead of using paint. Lot's of different ways! Here are my polka dot ornaments...


Filled Ornaments
Another way to decorate your glass ornaments is to fill them! You have to make sure you buy ornaments with a top that comes out of the bulb in order to do this. Anything can go inside of the bulbs. Beads, glitter, dried flower petals, etc. Last Christmas, Eric's Aunt Flo and Uncle Dave gave us a beautiful glass bulb that was filled with strips of curled paper that turned out to be our wedding invitation!
On that train of thought, I pulled out my wedding bouquet which has been waiting for almost 365 days to be turned into a new craft. Below you can see how I painted the ornament, just the bottom painted in red so that you could see the leaves and berries from the bouquet with which I filled the bulb. I also used a bottle of "Snow Writer" to give the top of the ornament a textured appearance.


I liked these so much, that I made another pair of similar ornaments. I painted the top of the ornament gold so that you can see the berries and leaves on the bottom


Fabric Scraps
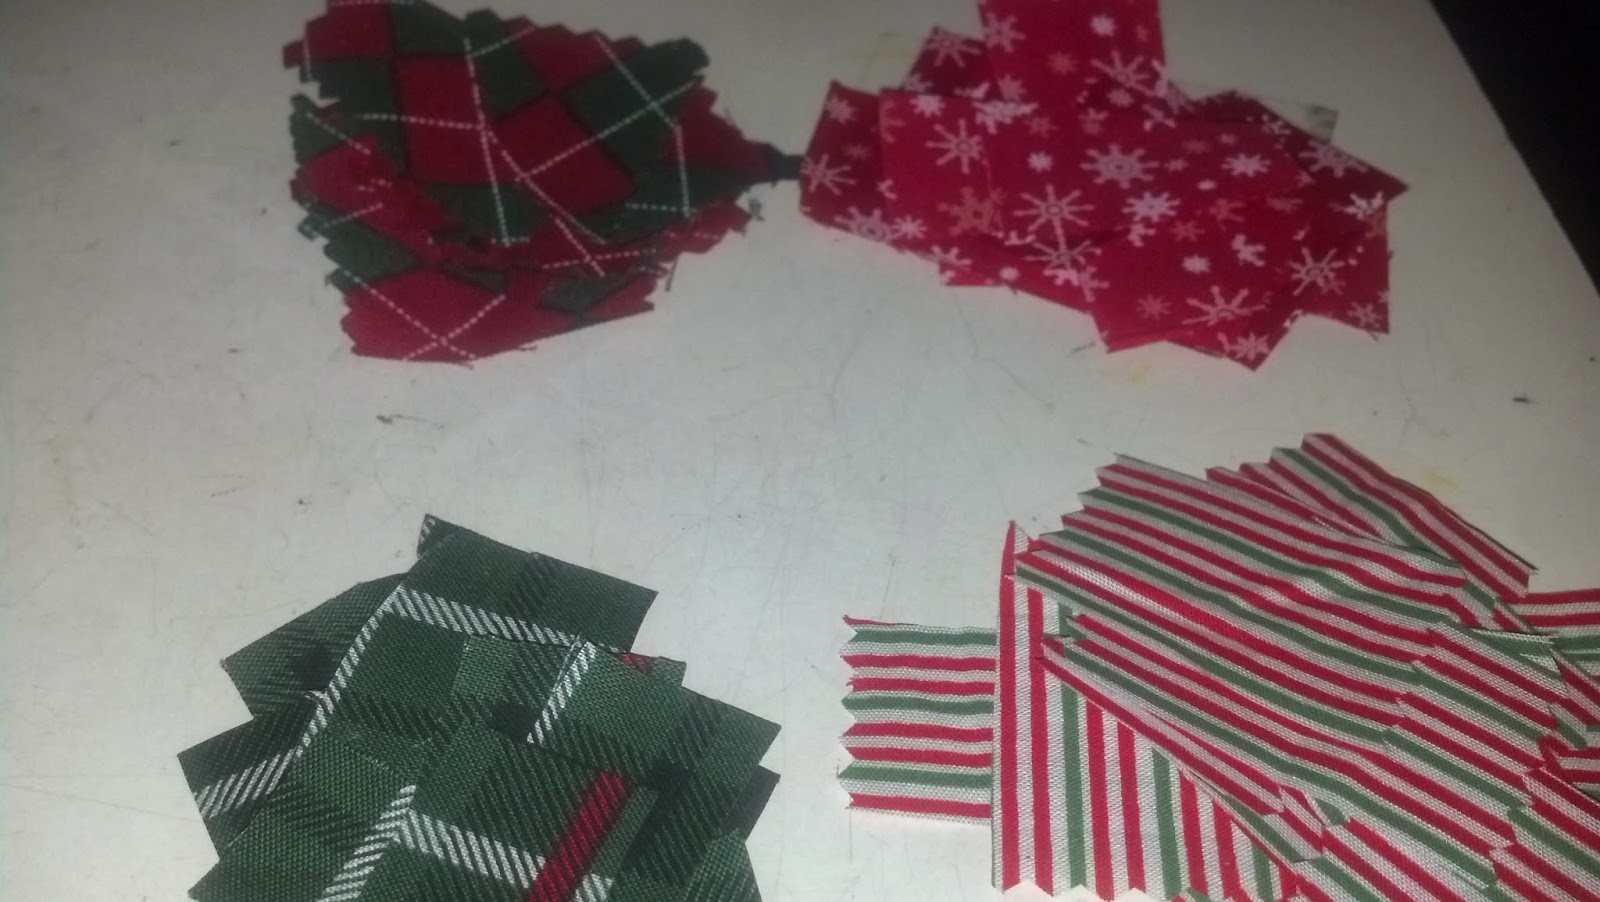
If you've visited my blog before, you know how much I love modge podge. It's pretty much the most versatile crafting tool ever! As usual, I had a bottle of modge podge on my person, as well left over scraps of fabric from the stocking garland that I made on Day 1 of Kraftmas.
For these ornaments, I cut the scraps into various sized squares. To apply the fabric, first paint the back of the piece of fabric or the glass itself, then apply the fabric piece. I overlapped the fabric pieces as I put them around the ornament. Finally, after you've put the fabric on the bulb, paint over the entire ornament with modge podge. And your done! I think that these would be super cute with different colors and patterns of fabric too, but I wanted to use what I had that already matched my tree theme.


No comments:
Post a Comment