Sunday, August 17, 2014

KT Did It: Graduate and Vacate!


By all intents and purposes, this blog (which was started one year ago this month) was to be a refuge of sorts - an inspiration to try new things, report on them, and keep some sanity over the remaining year of my PA education.

And now, I am happy to report that my education has officially ended, and I am a Physician Assistant (awaiting the results of my boards, of course). 

Alas, the last few months have not been full of did-its. I can honestly report that I put my studies first, despite one or two...or more...pieces of jewelry to sell on my etsy shop, Chile&Cinnamon as well as an hour a day spent working out with hopes of running a race or two in the near future. 

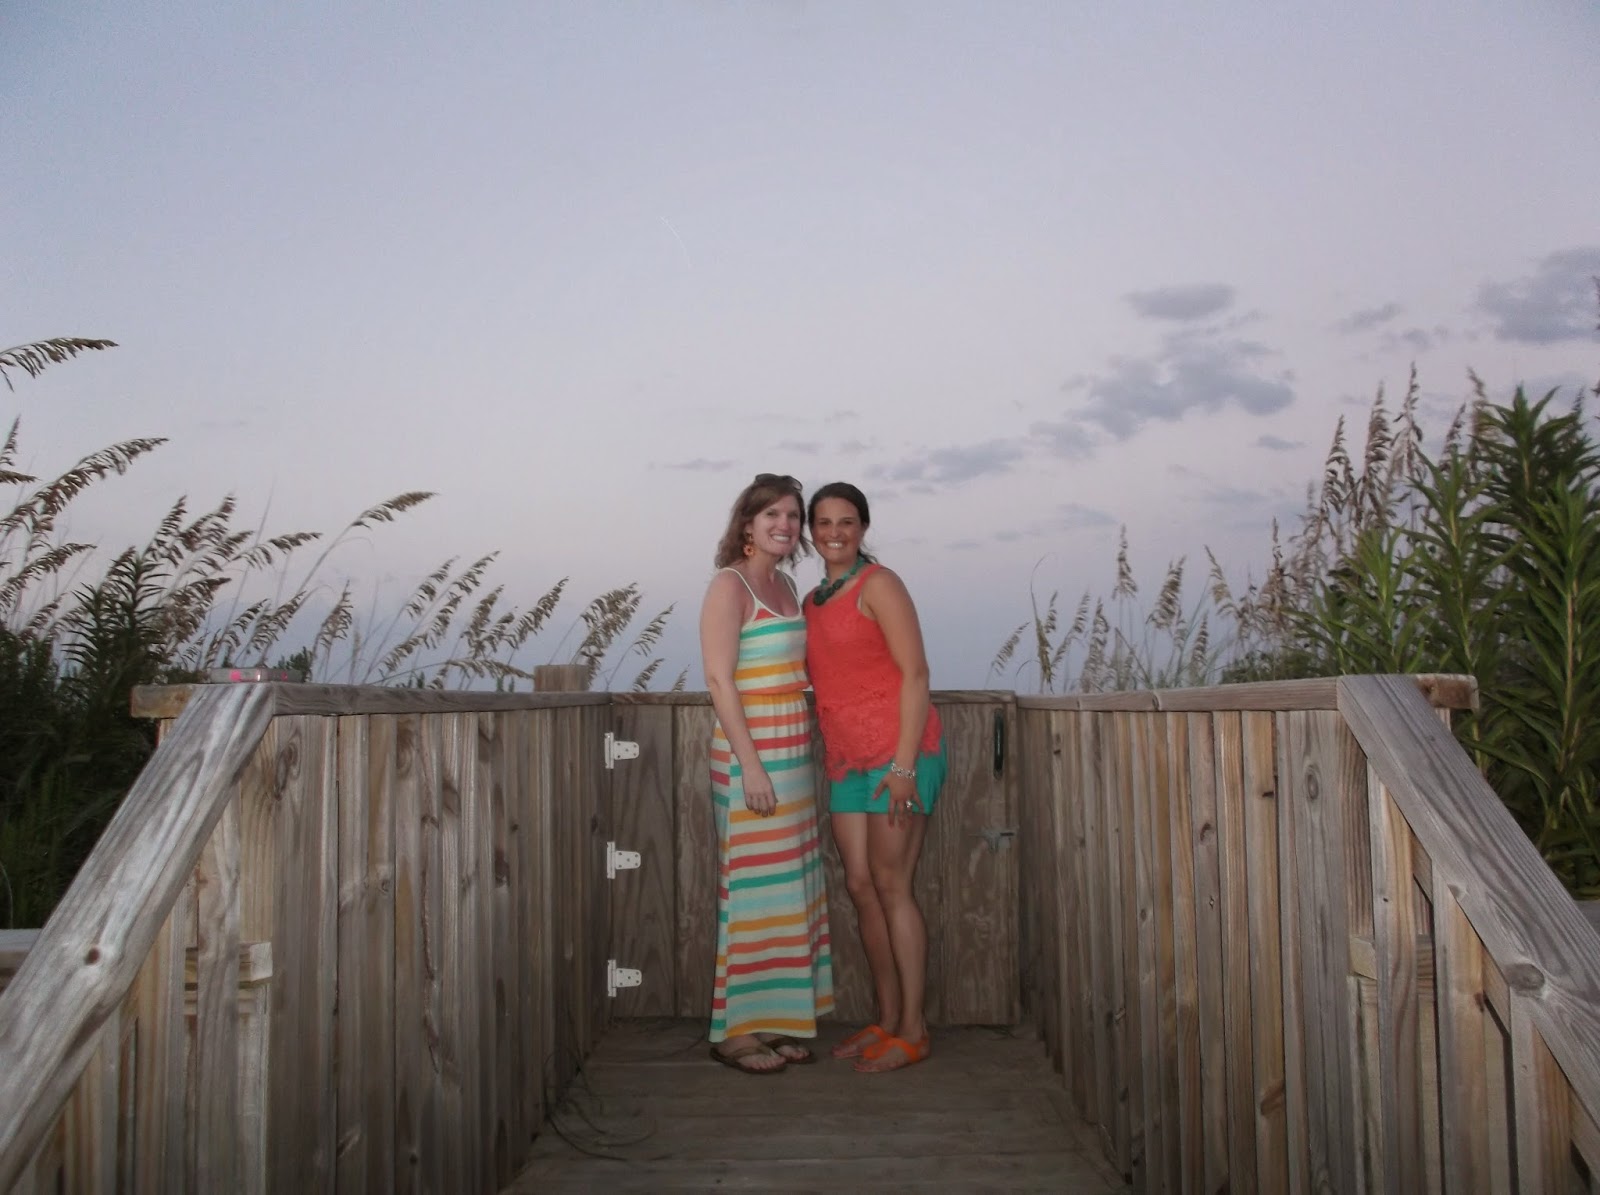
But, after taking my boards, I set off with my good friend Kristie and my family to hit the "refresh" button while catching a few sun rays in Nags Head, North Carolina.

I would not call myself a seasoned traveler by any means, but if you have never been to the Outer Banks, I would argue that it is an absolute must. The beaches are serene, the shopping quaint, the food excellent from Kitty Hawk to Corolla.

Here are a few snap shots of the beach, including a few of the morning sunrise: 


In addition to relaxing on the beach, Kristie and I decided to make our way to Trio, a wine/bar/cheese bistro, before attempting to find all of the art, antique and up-cycled craft stores that we could find. The shop was full of wines and cheeses, with a bar and tasting area including a full menu of apps and entrees. Kristie had a glass of moscato, while I sampled the sangria as well as the loma alta cheese with the spicy plum chutney. 


Lucky for me, our shopping trip ended another lovely day of vacation with two new bracelets. 
And, of course, what is a Katy-Did-It post without some arts and crafts! I decided to paint a few shells that my mom found for me on her early morning walk.


After four days in the sun, I was a nice shade of bronze and ready to get back to my hubby, my cat, and ready to get back to normal life and more did-its!


Saturday, June 21, 2014

KT Made It: Turquoise Beaded Necklace

If I were to make an amendment to the DSM-V it would be for a clinical diagnosis of Craftaholism, with one diagnostic criteria being:

"The individual admits to seeing various products at the store or in magazines, and saying to his/herself 'I can make that'"

My most recent act of Craftaholism was seeing a super cute beaded turquoise necklace at Walmart and saying,  "I can TOTALLY make that." So I did. And here is how.

What you need:

Beads for stranding – size, shape, and color are up to you!
Cording to strand the beads
2 pendants for the ends of your braided strands
Cord end caps
Jump rings
Chain
Lobster clasp
Needles for stranding your beads (I used eye open needles)

1. Come up with a design. One of the things that I love about making jewelry is that inspiration is everywhere - stores, magazines, artwork, flowers in the garden, etc. Here is my original plan (and I spelled "turquoise" wrong here which is hilarious)
2. Get your materials. Here are mine below:


3. Determine the length of the strands that you will be braiding. I used 14 inch long strands, with three strands for each part of the braid (9 total strands). I also added 2 inches onto the end of the measured strand so that I would be able to tie the ends without losing length. 

4. Start stringing your beads! After you have made the strands the desired length, couple the strands in threes and tie a not at the end of all three strands. Use a cord end cap or Lobster cap to cover the knot. 


5. Next, I attached the three pieces (with 3 strands each) together at one end only using a single jump ring. Then I braided the strands. At the end of the braid, I attached the opposite end with another jump ring. 

6. Then, I attached each jump ring to the end of one of the pendants. 


7. To finish, I attached about 3 inches of a silver chain to each pendant. Finally, I used a jump ring to attach the Lobster clasp to the end of one strand so that I could put the two sides of the necklace together. 

And here is the finished product!


Thanks for stopping by to check out my blog! I'm really excited for this post because it is a preview for what I will be selling in my up-coming Etsy shop. Stay tuned for updates!

Happy Crafting <3

Monday, May 26, 2014

KT Baked It: Flourless Blueberry Muffins

For the past few weeks I have been trying to perfect a flourless blueberry muffin that I can grab for breakfast, especially because I am about to start my surgery elective and I really want to be able to workout in the mornings without worrying about losing time trying to make breakfast as I run out the door. After much experimenting, here is the recipe that I am finally satisfied with enough to share.

What you need:
6 Tbl coconut flour
1 egg
1.5 cups liquid egg whites
1 Tbl agave nectar
1 cup frozen blueberries
1/4 tsp baking soda
1/8 tsp salt

Preheat the oven to 350 degrees (and set your measuring cups and spoons to the side looking really cute for a picture)


Whisk 1 egg and 1.5 cups liquid egg whites in a mixing bowl.

Measure 6 Tbl of coconut flour, and mix thoroughly with your eggs. 

Next, add 1 Tbl of agave nectar. Then mix in the baking soda and salt.


Finally, add in your blueberries. 
Put 1/4 cup of batter into your greased muffin tin. This recipe makes 8 muffins. 
Bake at 350 degrees for 35-40 minutes (test to make sure your muffins are fully baked by inserting a knife into the center - if the knife comes out clean, your muffins are ready to come out!). 

And here you have it, delicious flourless blueberry muffins to grad on your way out the door. 


Saturday, May 17, 2014

KT Painted It: Sunset Beach

I've never painted anything on a canvas.

I've also never painted a picture for someone else.

Drawing is different - pencils are easier to control. Paint on the other hand. Meh...not so much for this untrained artist-want-to-be.

All self-degradation aside, I wanted to paint a picture for my hubs for his birthday this year.

One of our favorite pictures is of a sunset we watched while at Key West, FL in 2011. Here is the picture:


Amazing, right? This was one of the two pictures that we asked my little sister to paint for us for Christmas, but she chose another one instead. Eric was a little bummed, and I told him that I would paint the picture for him. So here is my attempt!

I decided to use a technique with short brush strokes using acrylic paints and a brush type called a "scrumbler". Here are my paints and brushes (a 4.0 and 6.0 size). The paints are all acrylic.

I chose a 24x30inch canvas for no particular reason, but it turned out to be a good thing that I didn't go any larger because using such small brush strokes was tedious. 

I printed the picture that I was attempting to duplicate, and taped it to the top of the canvas so that I could look at it while I was painting. 
I started from the bottom with the ocean, and worked my way up toward the sky, incorporating all of the colors that I could see, trying to add as much dimension as possible (woah! that sentence has a TON of comas...)


Here is was I came up with. A couple of notes to myself for the future - I really liked the 6.0 brush that I used for the sky. The brush strokes were not as coarse, and the colors blended together a lot nicer than they did for the water using the 4.0 brush. 

Next, I added in the tree line. I decided to make the tree line taller than the original picture, which was reflective of being closer to the tree line. In doing so, I also decided to bring the tree in the foreground of the picture "close" by making it larger in the front of the painting. Here is the tree line below...


And the final and most arduous task: the tree in the foreground. I really wanted to make sure to have enough details to show the leaves and the skyline in the background between them. This was not an easy task! However, I'm pretty excited about the results:

Finally, I went back and improved some of the parts of the painting that I wasn't so happy with initially. I also added some more color to the sky to incorporate the clouds from the original painting.

Here is my finished product:


This was a Katy-Did-It with love, for my amazing husband. Happy (early) birthday, Eric. I love you so much!

Friday, May 16, 2014

KT Made It: Fruit-topped Baked Brie

Baked brie is by far one of my favorite things, but until recently I had never made it myself. Lucky for me, my friend Sara from the food blog, A Glimpse Into My Cravings, is a brie lover and an amazing cook! After watching her whip up a delicious baked brie with a berry topping over some great girl talk and a couple of glasses of red wine, I realized how easy it was to make this deliciously cheesy dish.

On my birthday a few weeks ago, I decided to make some baked brie of my own. And here is how I did it!

What you need:
1 wheel of brie with the rind - I used President brand
1 jar of fruit preserve - I used apricot
1 cup of frozen berries - I used blueberries


First, preheat your oven to 350 degrees. Once the oven is ready, unwrap your brie and place it on a baking stone. I leave the brie in the rind, but you can also use a puff pastry from the grocery store to wrap around the brie and back it that way! Bake the brie for 20 minutes or until it is bubbly and slightly browned on top.


While the brie is baking, empty the jar of preserved into a sauce pan on low-to-medium heat. Add the frozen fruit and allow the mixture to simmer.

After your brie is baked, top the brie with your fruit topping and serve with some french bread. Mmmmm!


There are, of course, many other variations of this. I think next time I will make a brown sugar topping with pecans and walnuts...

Sunday, April 27, 2014

KT Did It: Ocean City Half Marathon

First and foremost, I'd like to apologize for the fact that MY LIFE HAPPENED TO ME.

Did-its have been few and far between over the past few months as I have been completely devoted to the following:

  1. Going to clinic - I've successfully completed my surgery and OB/GYN rotations, and have only one week left of my pediatrics rotation. Graduation is creeping around the corner...So. Pumped. 
  2. Studying for clinic and my boards.
  3. Spending as many moments as possible with my equally busy hubby. 
  4. Training for my first half marathon!
Since the first week of January, my older sister and I have trained for our first half marathon. I've tried to train for the 13.1 race twice before. The first attempt ended in an exacerbation of an old foot injury. The second was thwarted when my training schedule conflicted with my schedule with studying and clinic so much that I had to take a step back, put the priority to study first, and take a knee on my attempt to achieve this goal to complete a half marathon. When my sister, Jess asked me to run the Ocean City annual 5k/half marathon with her in April, my immediate reaction was to remember the saying "Third time's the charm." 

And it was. 

Despite the long hours in clinic, late nights studying, and some pretty far distances to drive from home to work, Jess and I made a plan to train and we stuck with it. Although we weren't running or training together, we encouraged each other daily and used the same Hal Higdon half marathon training plan as a foundation for our running schedule. As a side note - I also continued to lift weights throughout, except for cutting out the heavy squats and deadlifts in an effort to save my legs for running. It may sound crazy to some people, but I cannot wait to get into the gym this week and start squatting again! My goal is to squat 235lb by the end of the year...

This Saturday April 26, 2014, Jess and I completed our first half marathon in Ocean City with our very own, very special cheering section: my amazing husband, Jess's husband and step-son, our mom and brother (who drove 3hours that morning just to see us cross that finish line)!

Here we are the night before getting dinner at Belly Busters. Jess loves this spot, and so did we. It's a great hole-in-the-wall restaurant with fantastic crab legs, sandwiches, and fried rockfish fingers. I had a caesar chicken wrap, which was really good!


Here we are the morning of the race in our matching hot yellow head bands!
When the we set off from the starting line, our goal was simply to finish the race. We were both nervous because, as things happen, our training was a little rocky in its consistency toward the end secondary to our other priorities, e.g. SCHOOL/WORK. However, when we got started, the adrenaline set in! I can honestly say that I've never worked harder for something, nor have I ever felt a greater sense of satisfaction for an achievement. My goal was to finish at a 10min/mile pace, which would put my at a ~2hr10min finish. However, for the majority of the race I couldn't find the 2hr10min pacing group that I had my eye on at the start line. I kept pushing forward, and at mile 10 I found the group and I knew that I was on track. At mile 11, I passed the group. And from from 12-13.1 I pushed harder and harder to pass everyone in front of me. I'm pretty sure more than one person saw my burst into tears of joy randomly over the last mile. I couldn't contain myself, I was so excited that I was about to achieve this goal that I've had for the past two years. And on the last leg as I saw the finish line, I sprinted as fast as I could...and I crossed the line with a time of 2:07:36! 

When Jess crossed the finish line not far behind, we hugged each other so tightly and cried because WE DID IT! We finished our first half marathon, a feat that both of us questioned throughout the four months of training whether or not we were going to make it. 

And we did together, with our family cheering us on. 

So now I can officially put the 13.1 sticker on my car...or my new training notebook for my next few months of training for another awesome race!